Ingredients
-
For the Poolish
-
5.1 fluid oz Water150 ml, room temperature
-
5.3 oz 00 Pizza Flour150 g
-
1/2 tsp Active Dry Yeast2.5 g
-
1/2 tsp Honey2.5 g
-
For the Dough
-
11.8 fluid oz Water350 ml, room temperature
-
22 oz 00 Pizza Flour625 g
-
.7 oz Kosher Salt20 g
-
Olive Oil
-
Semolina Flour
Directions
We purchased a Bertello Grande Pizza Oven for Christmas a few weeks ago and have been practicing with it. While I was researching pizza oven models I came across a review done by Vito Lacopelli. The review was good but the real find was Vito’s YouTube channel including detailed videos of how to make his pizza dough (there are a few different recipes). A few days ago we decided to give it a shot.
The dough was a big hit with everyone so I decided to post the recipe we used (with metric to English conversions), along with a link to Vito’s original recipe video. We watched the video several times and kept coming back to it for each step just to make sure we were doing things correctly. If you follow the steps in the video exactly (including a few tips in the recipe steps below) you shouldn’t have any problem recreating Vito’s fantastic pizza dough recipe.
There are a few things you should be aware of when making this dough. First, the dough will take two days to make so you need to have that in mind when you are planning. You make the poolish on day one, and then make the pizza dough on day two. The poolish only takes a few minutes to make. You keep it on the counter for an hour and then put it in the refrigerator for 16 to 24 hours. On day two you make the dough using the poolish. It takes about 3 hours to make the dough, including proving time.
The second thing you should be aware of is that Vito’s original recipe makes about 10 dough balls (as you will see in the video). We halved the recipe and make 4 dough balls with it. This seemed to work well for us using a 16″ pizza oven. If you are using a 12″ pizza oven or just want to make smaller pizzas then you can split the dough into more pizza balls as desired.
The third thing that you should be aware of is that the original recipe is in metric units. I have converted the recipe to Imperial but also provide the metric amounts in the note/comment for each ingredient. I recommend that you use the metric measurements as they are easier to work with if you have a kitchen scale that does both metric and Imperial measurements. Most measuring cups provide measurements in milliliters as well as fluid ounces. If you don’t have a good digital kitchen scale that can do both you can purchase one for under $10 on Amazon.
Ozeri Pronto Digital Multifunction Kitchen and Food Scale
This pizza dough recipe is 64% hydration. For more information about pizza dough hydration please see this guide.
Vito’s Recipe Video on YouTube
How to Make Perfect Pizza Dough – For the House (2021)
- UPDATE – 2023-08-01
Steps
|
1
Done
5 to 10 minutes
|
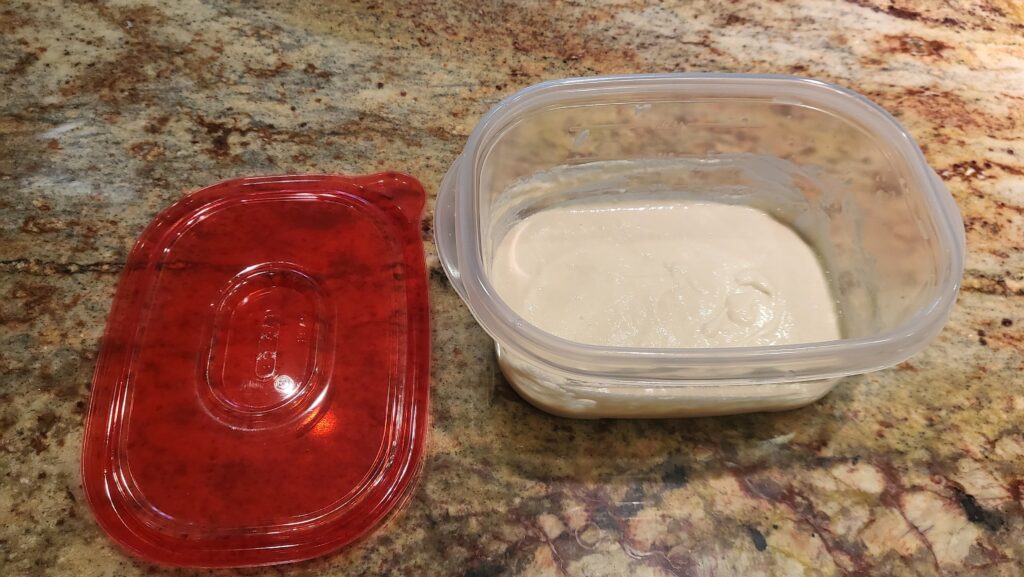
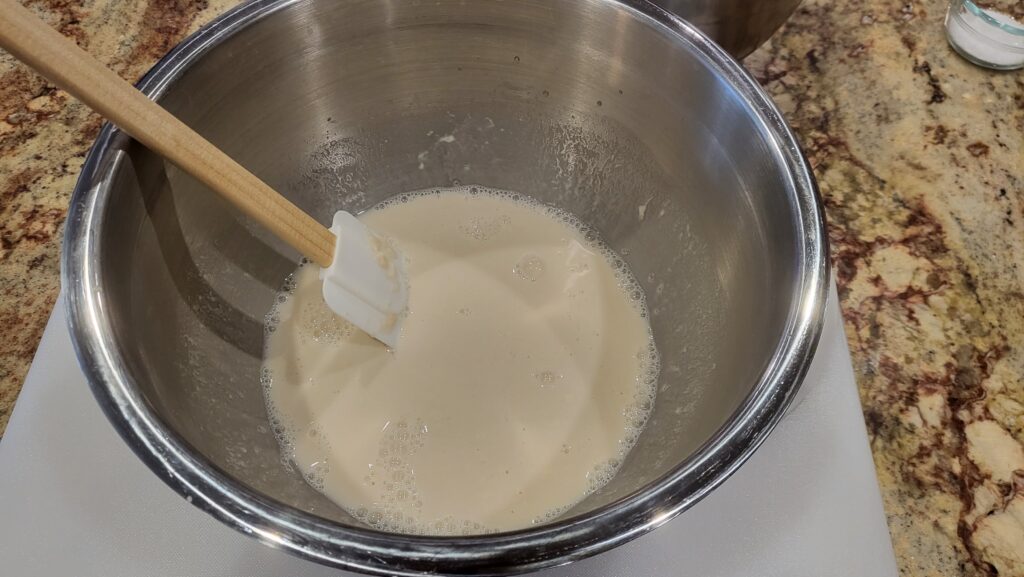
Day One - Make the PoolishPut the 5.1 oz of room temperature water for the poolish into a plastic container that has a lid. Add the yeast and honey to the water, and mix well to melt them into the water. Add the 5.3 oz of flour and mix until the flour is combined. At this point the mixture should be a paste that has enough liquid so that it finds its own level. If the mixture is clumpy then add a little more water. |
|
2
Done
|
Put the cover on the plastic container and allow the poolish to sit on the counter for 1 hr. After that put the poolish in the refrigerator for 16 to 24 hours. |
|
3
Done
3 hours
|
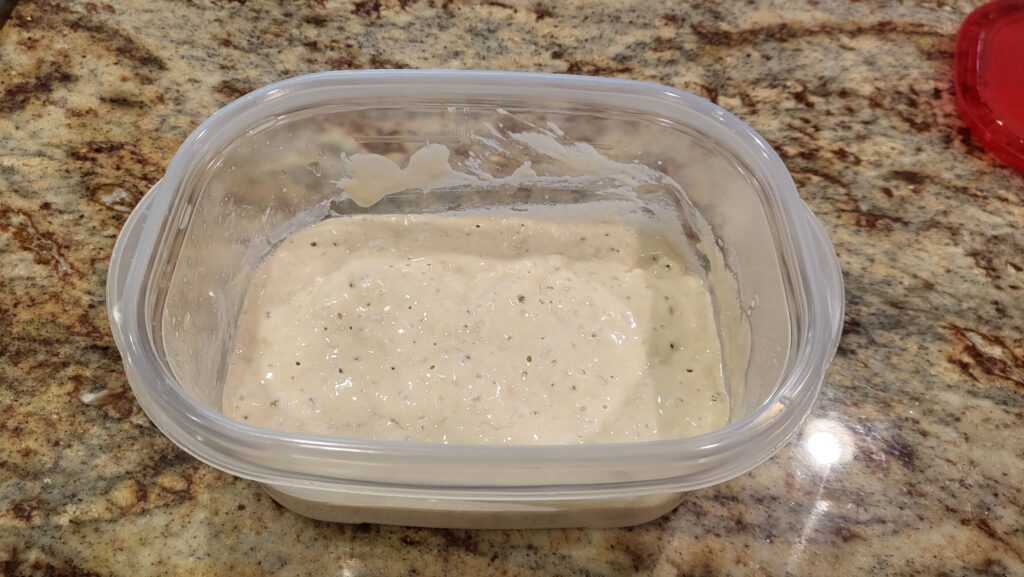
Day Two - Make the DoughA half hour before you are going to start making the dough you should remove the poolish from the refrigerator to allow it to come to room temperature. Leave the lid on until you are ready to start working with dough. When you do remove the lid it should look something like this where you can see and smell that the dough has been fermenting. |
|
4
Done
|
|
|
5
Done
|
|
|
6
Done
|
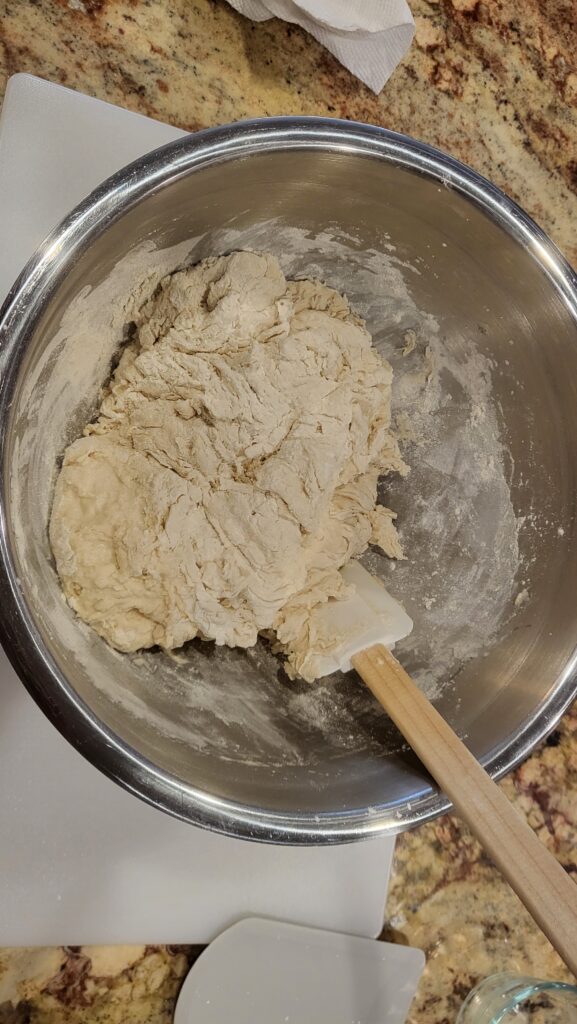
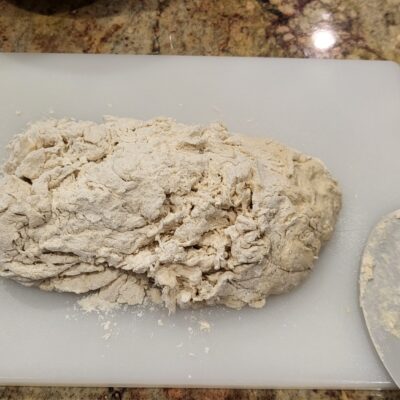
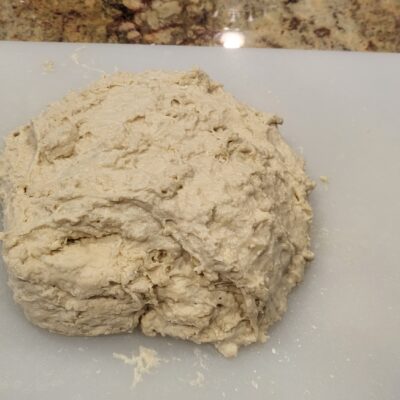
Turn the dough out onto a hard surface. I recommend that you don't use wood or a silicone mat as the dough will be sticky and difficult to work with. Begin working the dough with your hands using Vito's technique of pushing with your right hand, folding the dough back over, turning the dough 90 degrees, and then continue to repeat. You will almost certainly have a dough that is too sticky to work with (just as Vito did in the video). Cover the dough as he did and let it rest for 15 minutes. If when you start working the dough you find it is still too sticky let it rest for another 10 to 15 minutes covered. *** We have had to do this second resting every time we have made the dough. (The pictures show the dough turned out onto the work surface, and what the dough looks like when it is too sticky to work with. You won't be able to get that smooth "gluten layer" on top that you are trying to create). |
|
7
Done
|
|
|
8
Done
|
|
|
9
Done
|
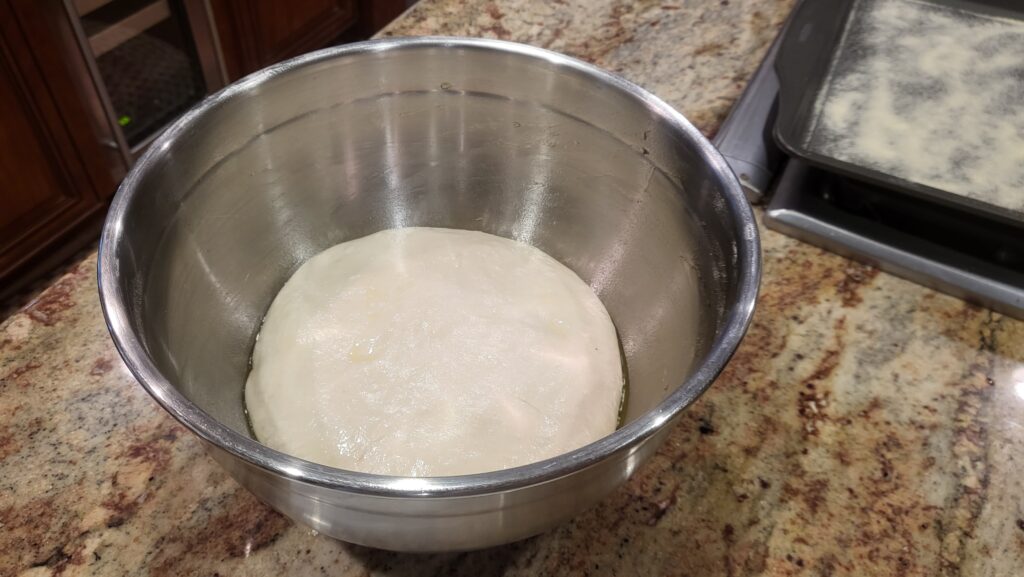
Gently place your hand on the top of the dough while you turn the bowl over so that the dough drops out onto your hand. Flip the dough down onto your working surface with the top back up again. Put some olive oil in your hands and pat the dough lightly with olive oil. Cut the dough into four equal sections. |
|
10
Done
|
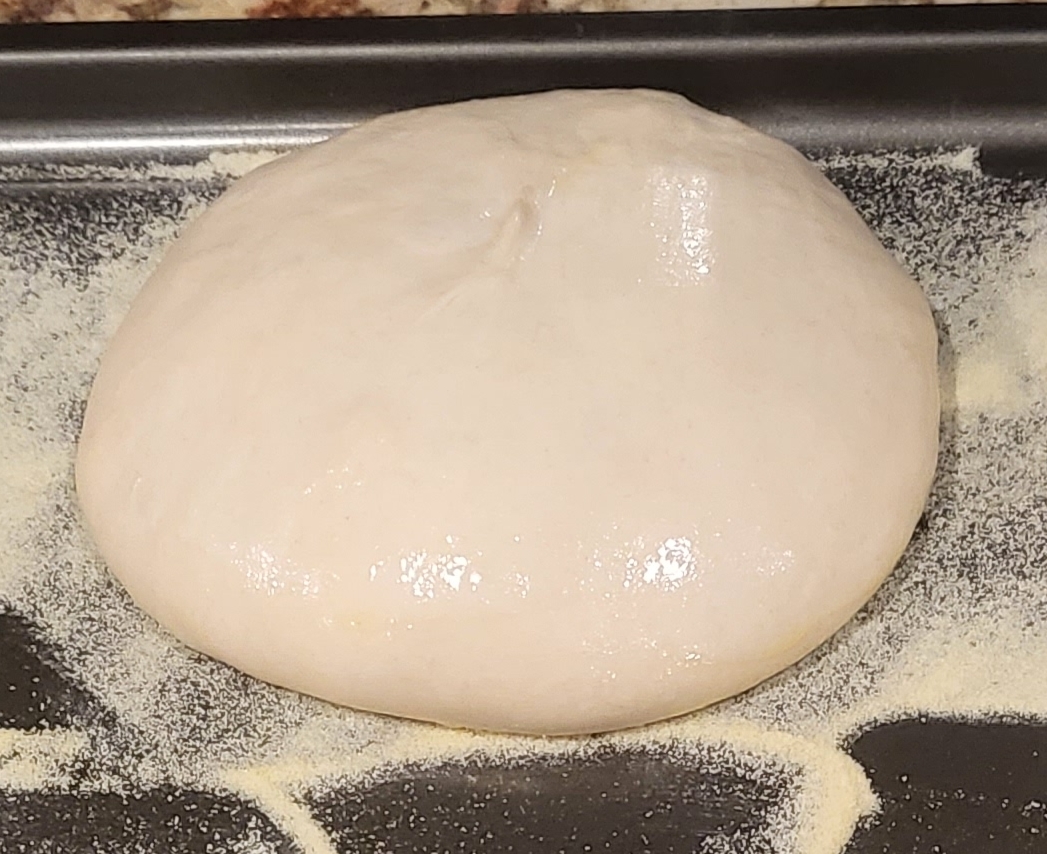
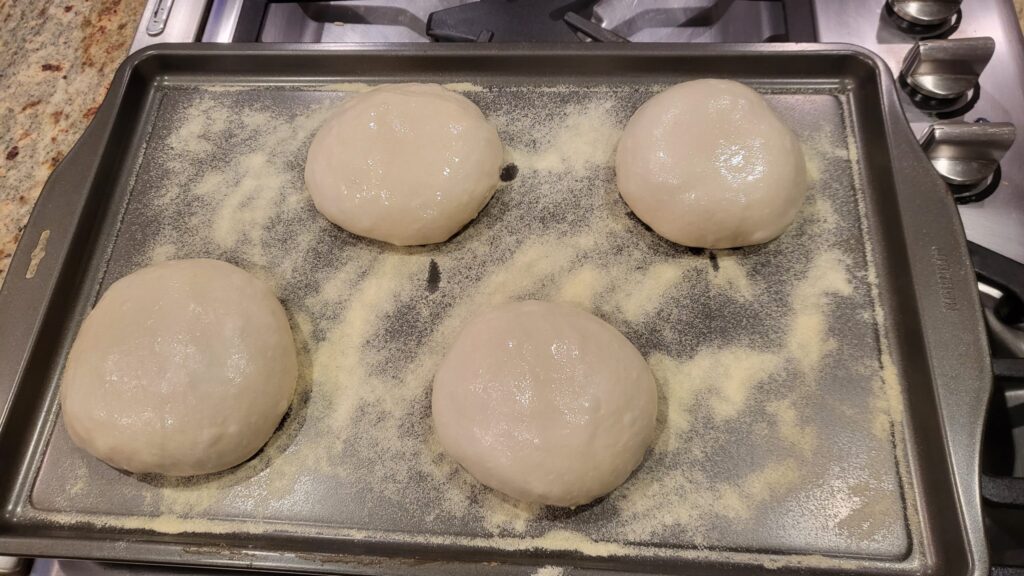
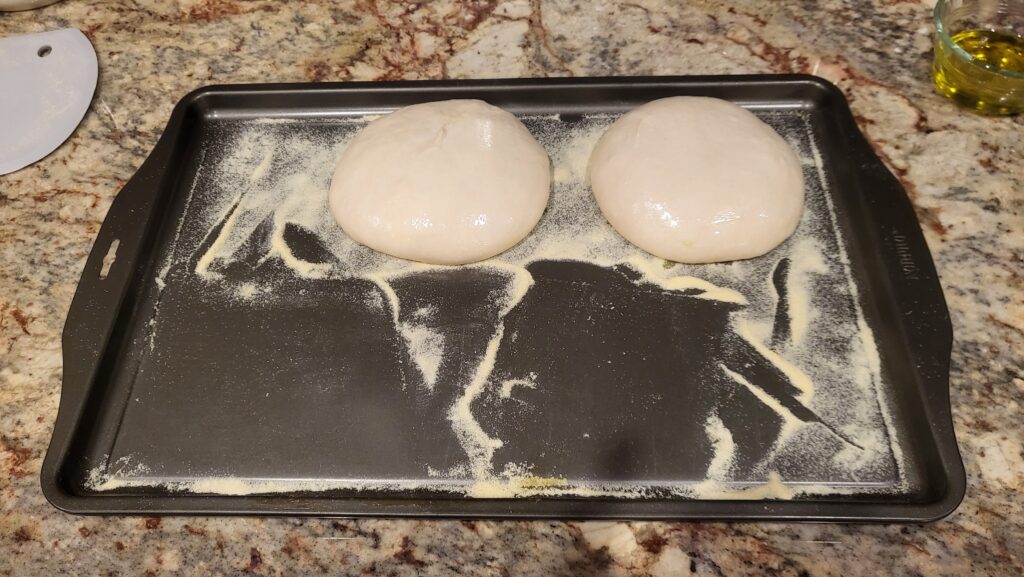
The next step is to create the dough balls. Vito shows two different ways to do that in his video. I use the second method because it just seems easier to me. Flip one of the dough sections over so that the top is on the bottom. Pull in the edges to the top center and pinch them together. Continue pulling the edges in several times until the underside (the actual top of the ball) has formed a nice, smooth, tight ball. Flip the ball over so that the top is back up and pinch your fingers under the ball to make sure the bottom has closed. Gently roll the ball a little to each side to seal it. Place your completed dough balls on a tray that has been lightly dusted with Semolina Flour. Repeat the process with the remaining dough balls and space them about 3 inches apart on the tray. |
|
11
Done
|
|
|
12
Done
|
Make a pizza out of each ball using the technique that Vito shows. Gently press down the dough in the center and work the air in the dough out to the edges. Then stretch the dough, load it up with your toppings and cook it in your oven, pizza oven or grill. If you have any unused dough balls wrap them up again on the tray and place the tray in the freezer over night. The next day you can take the frozen dough balls off of the tray and place them in individual zip lock freezer bags. For more details about how to freeze and defrost unused dough balls please refer to the following video from Vito: |
